
Homemade Butter
Saturday Mom and I gave a talk on herbs at the Cleves Church of Christ (more on that later this week). One of the things we did was demonstrate how to make homemade butter. It was a bigger hit than I expected it to be! We passed out a booklet with recipes and I didn’t include this one, but there were many requests for it. I’ll warn you, this post is image heavy but without you being in the farm kitchen, I hope they help!
“Whipping Cream” or “Heavy Cream” are the main ingredient. “Light Cream” or “Half and Half” will not work for this recipe. My favorite brand is “365 Everyday Value” from Whole Foods. This is their private label brand, but as far as milk, cream, and half and half go, it’s my favorite. Secondly, I always try and choose a “pasteurized” dairy product versus an “ultra-pasteurized” dairy product. Carageenan is another thing I try to avoid. There is conflicting evidence as to whether these two things matter, but to me, less processing is better. (Update: unfortunately it appears this is no longer available, I now use Snowville Creamery.)
The next thing you need for this recipe is a food processor or similar appliance. I have a super fancy Kitchen-Aid food processor that I rarely use-pulling out the Ninja Processor is just so much easier (and cheaper if you are looking to buy a piece of equipment). The food processor has the benefit of being able to turn it on and walk away. The Ninja you have to stand there and hold the switch down. Normally there are workarounds for kitchen appliances, but to keep this recipe easy, there’s really not-you need a high speed machine.

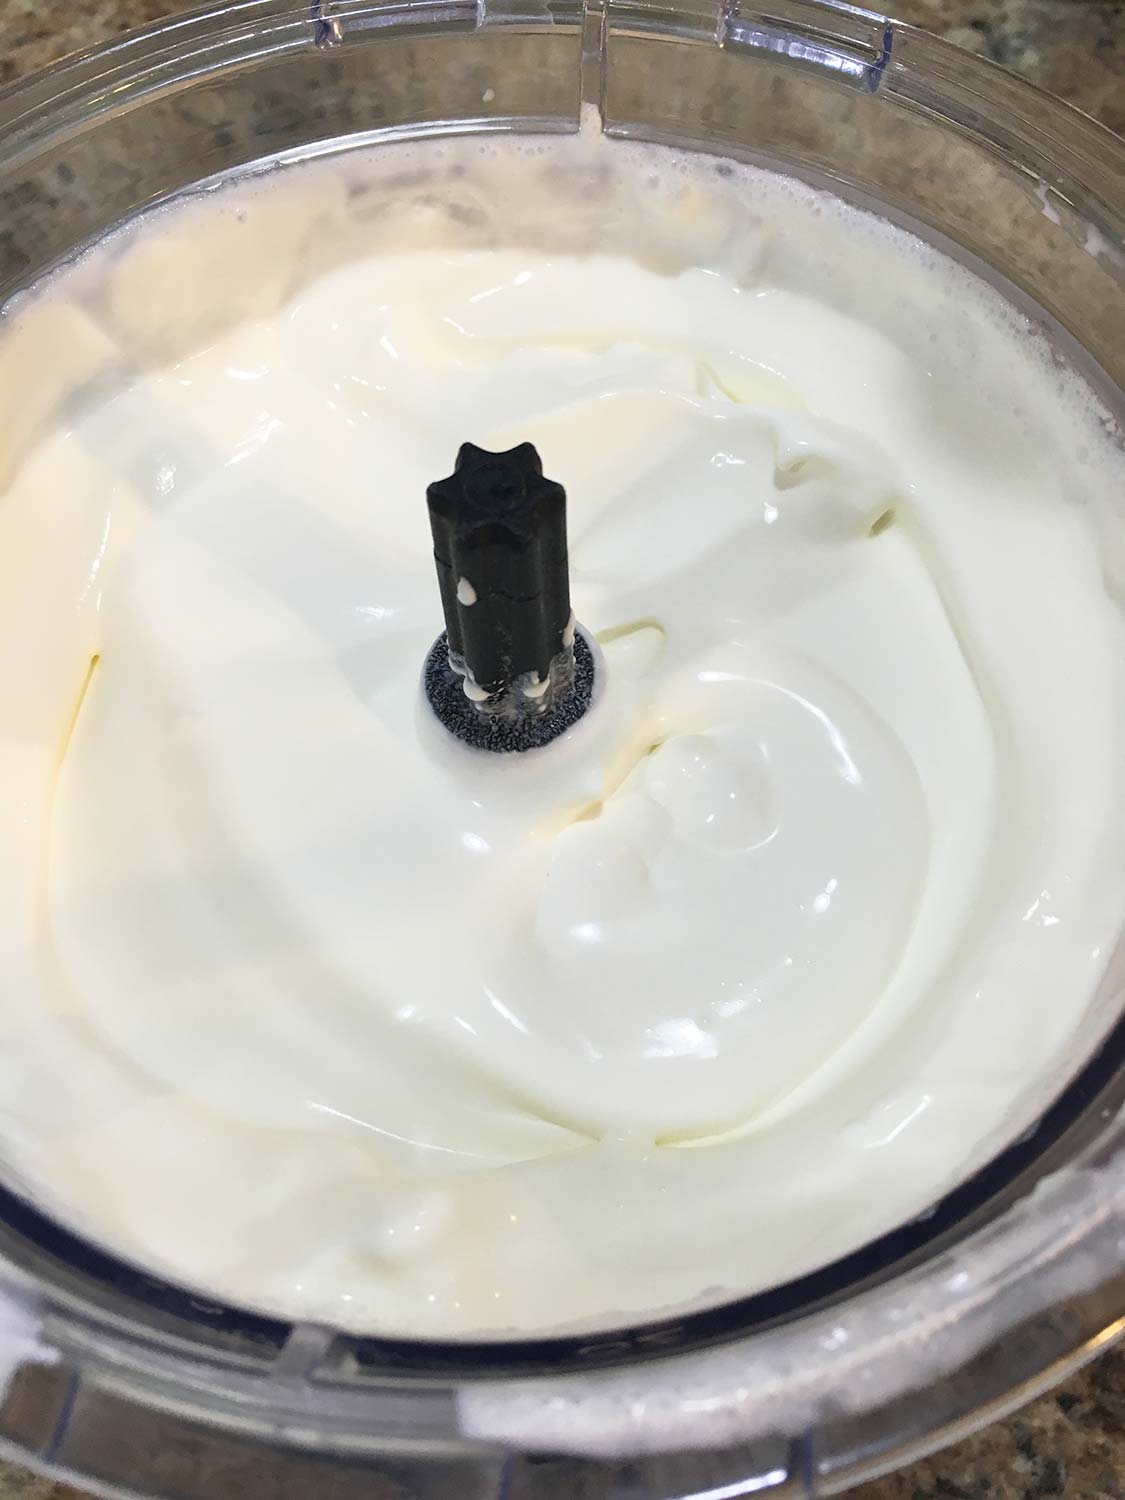
Once you’ve inserted the blade, pour in the cream and turn the machine on its fastest speed. This is the same process you would use to make whipped cream other than adding sugar. The first thing that happens is that the cream will thicken and form “soft peaks”. This phase will hold its shape briefly when scooped out.
You can pause your processing to look at the cream to see where it is, but it isn’t necessary. I do think it would be helpful the first time or two you make butter, just so you get a feel of what is happening and how long it takes.
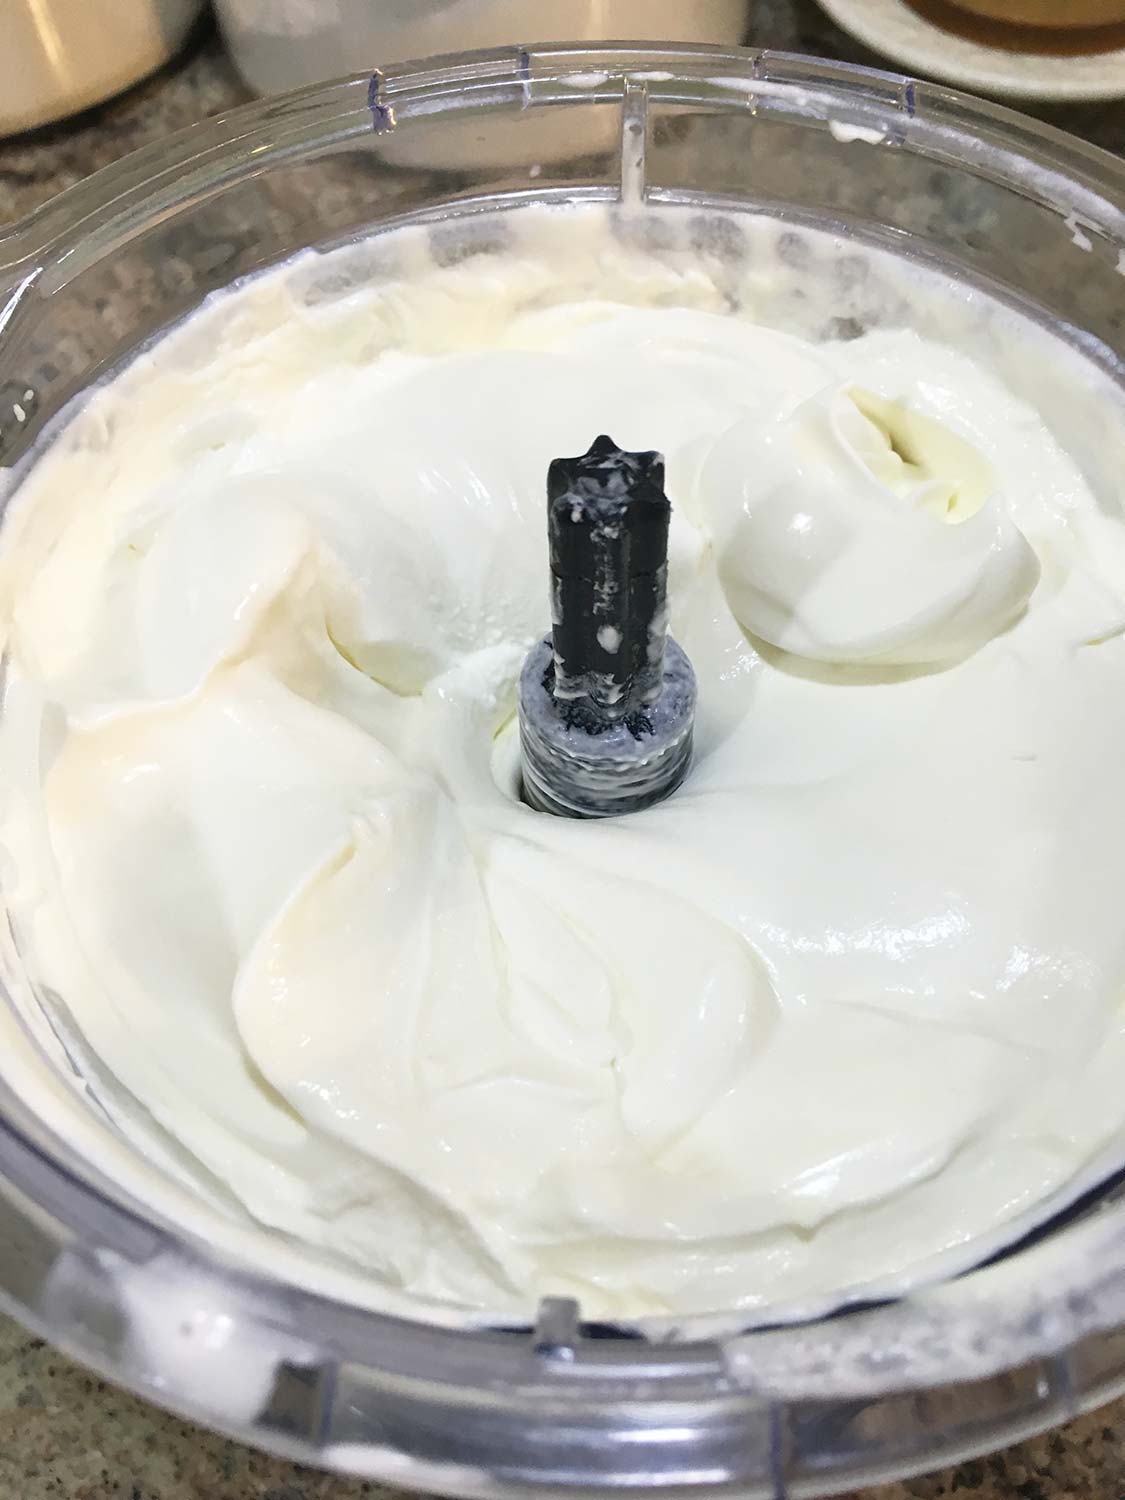
The second phase the cream will go through is “stiff peaks”. Stiff peaks hold their shape when scooped from the bowl. This is the point you would stop at if you were making whipped cream.
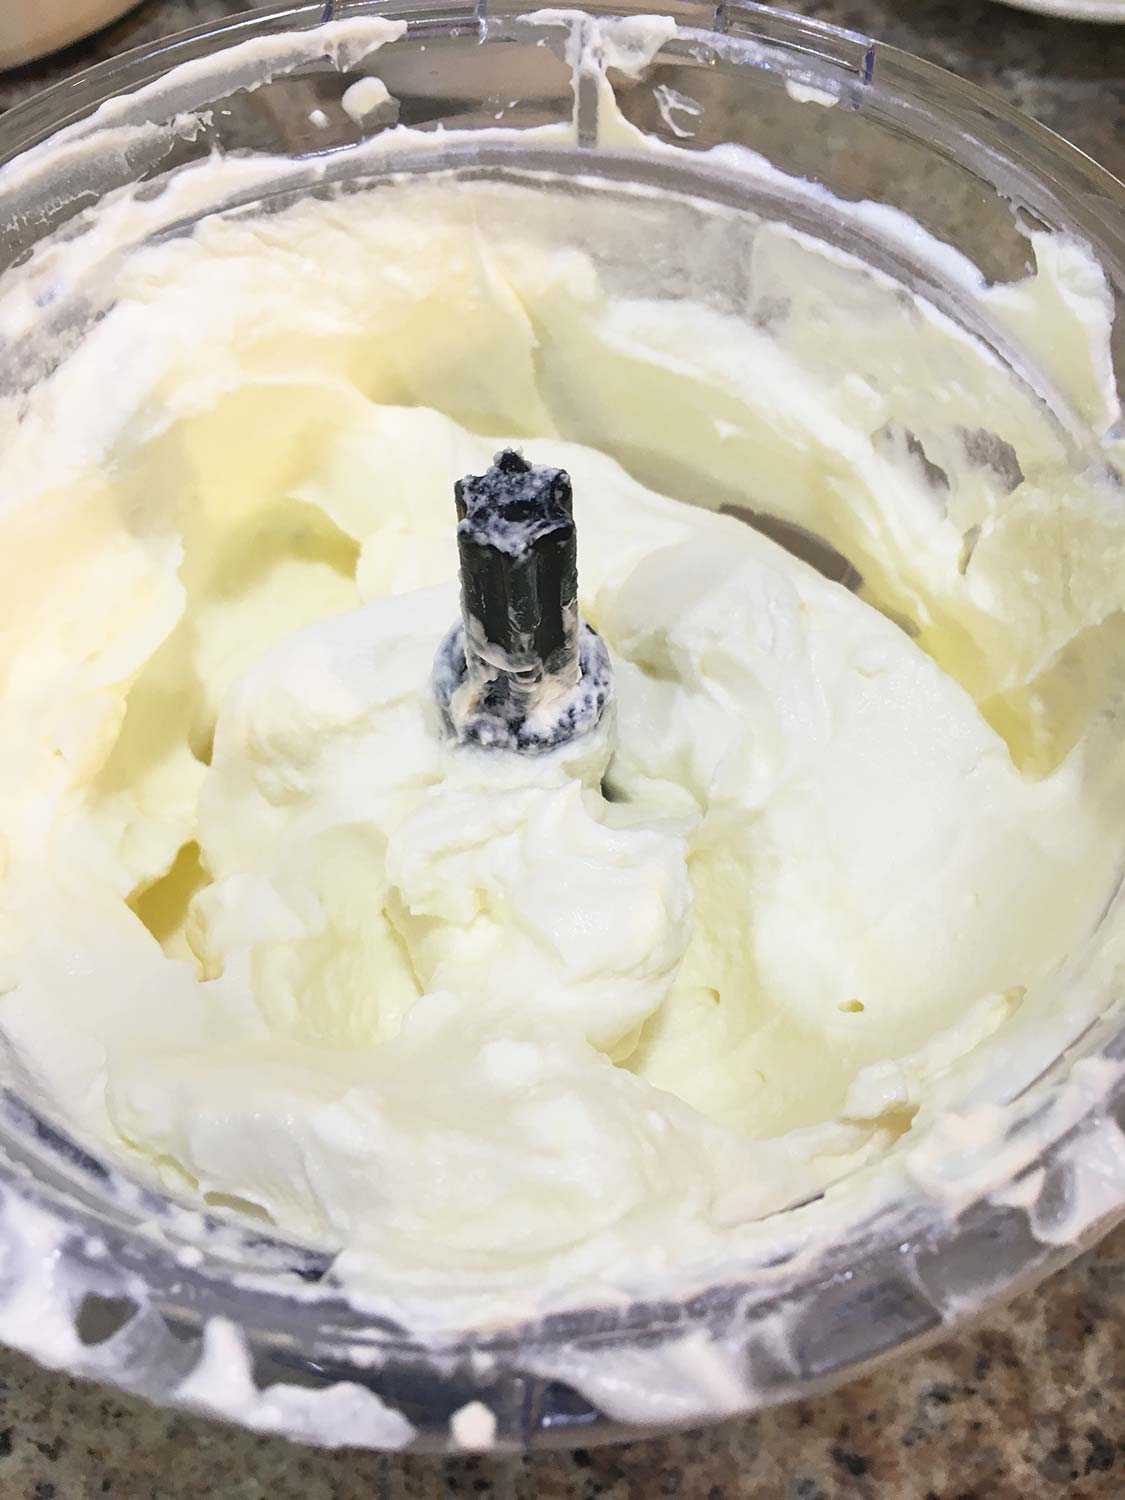
At this point if you keep processing the cream is going to “fall” back down into a liquid. This would be bad for whipped cream, but it is great for butter. The resulting semi-solid liquid is going to start to turn yellow and look grainy. It doesn’t look appetizing, but just stick with me here.
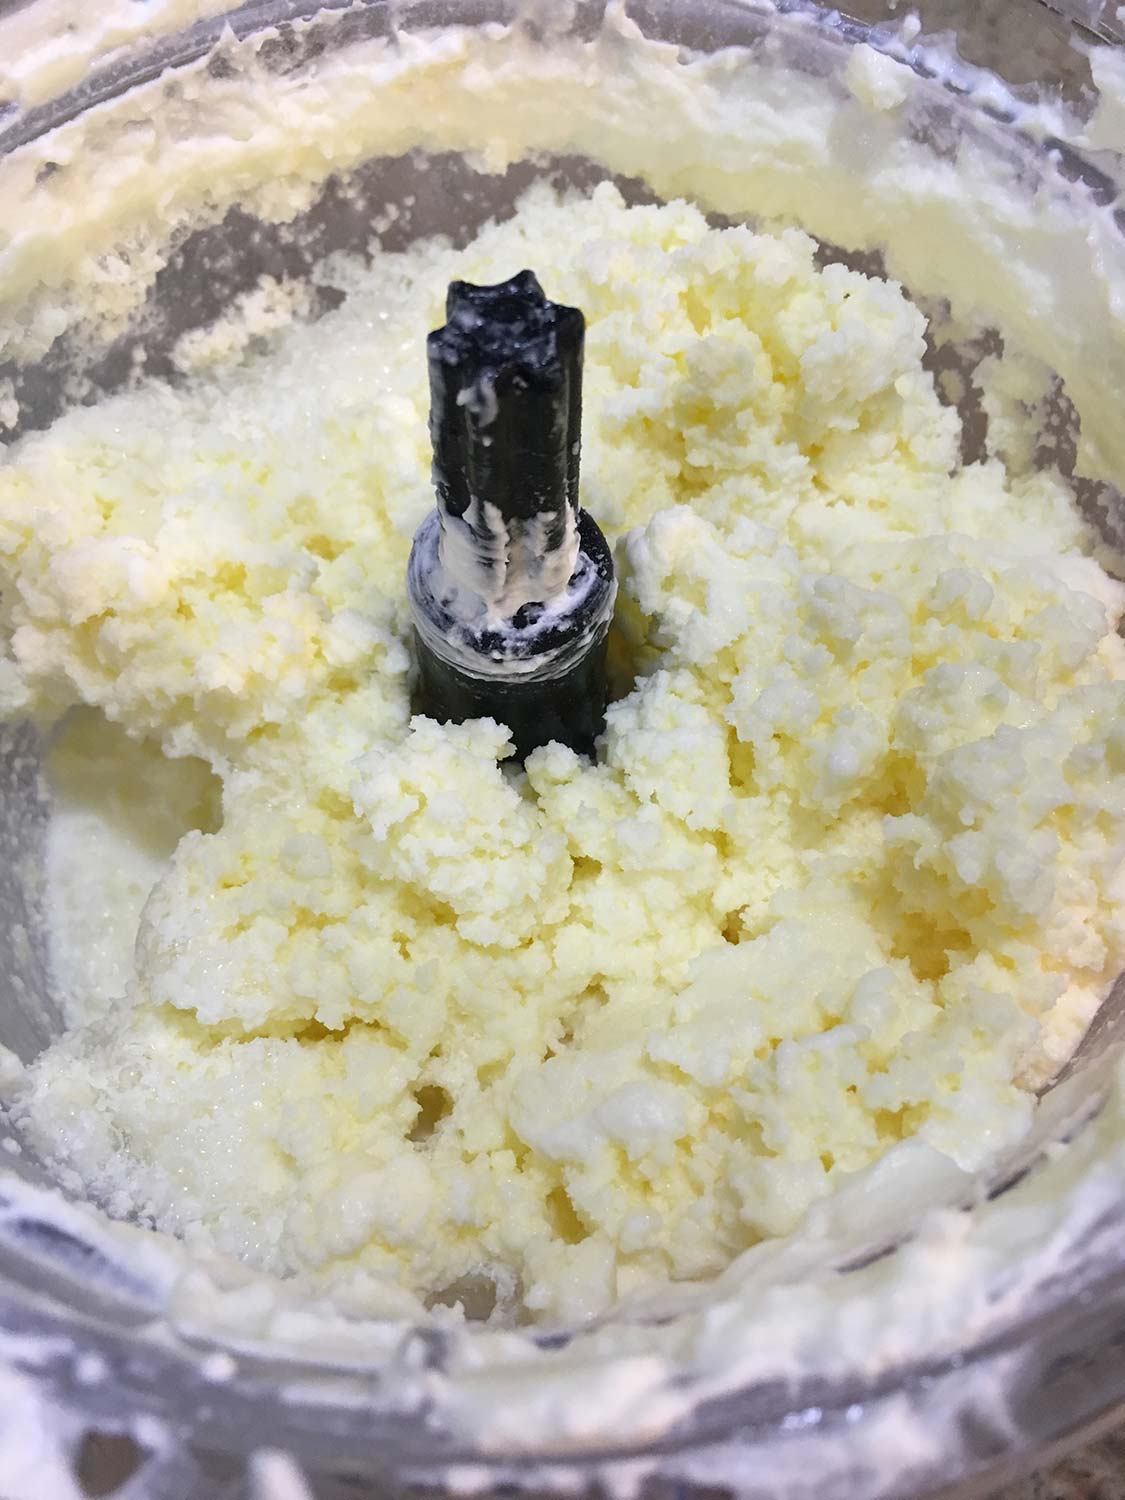
The next phase the cream will take looks like a crumbly butter and has turned yellow. It is still very wet at this point because the buttermilk (true buttermilk, not the imitation you buy in stores) is still being separated out.
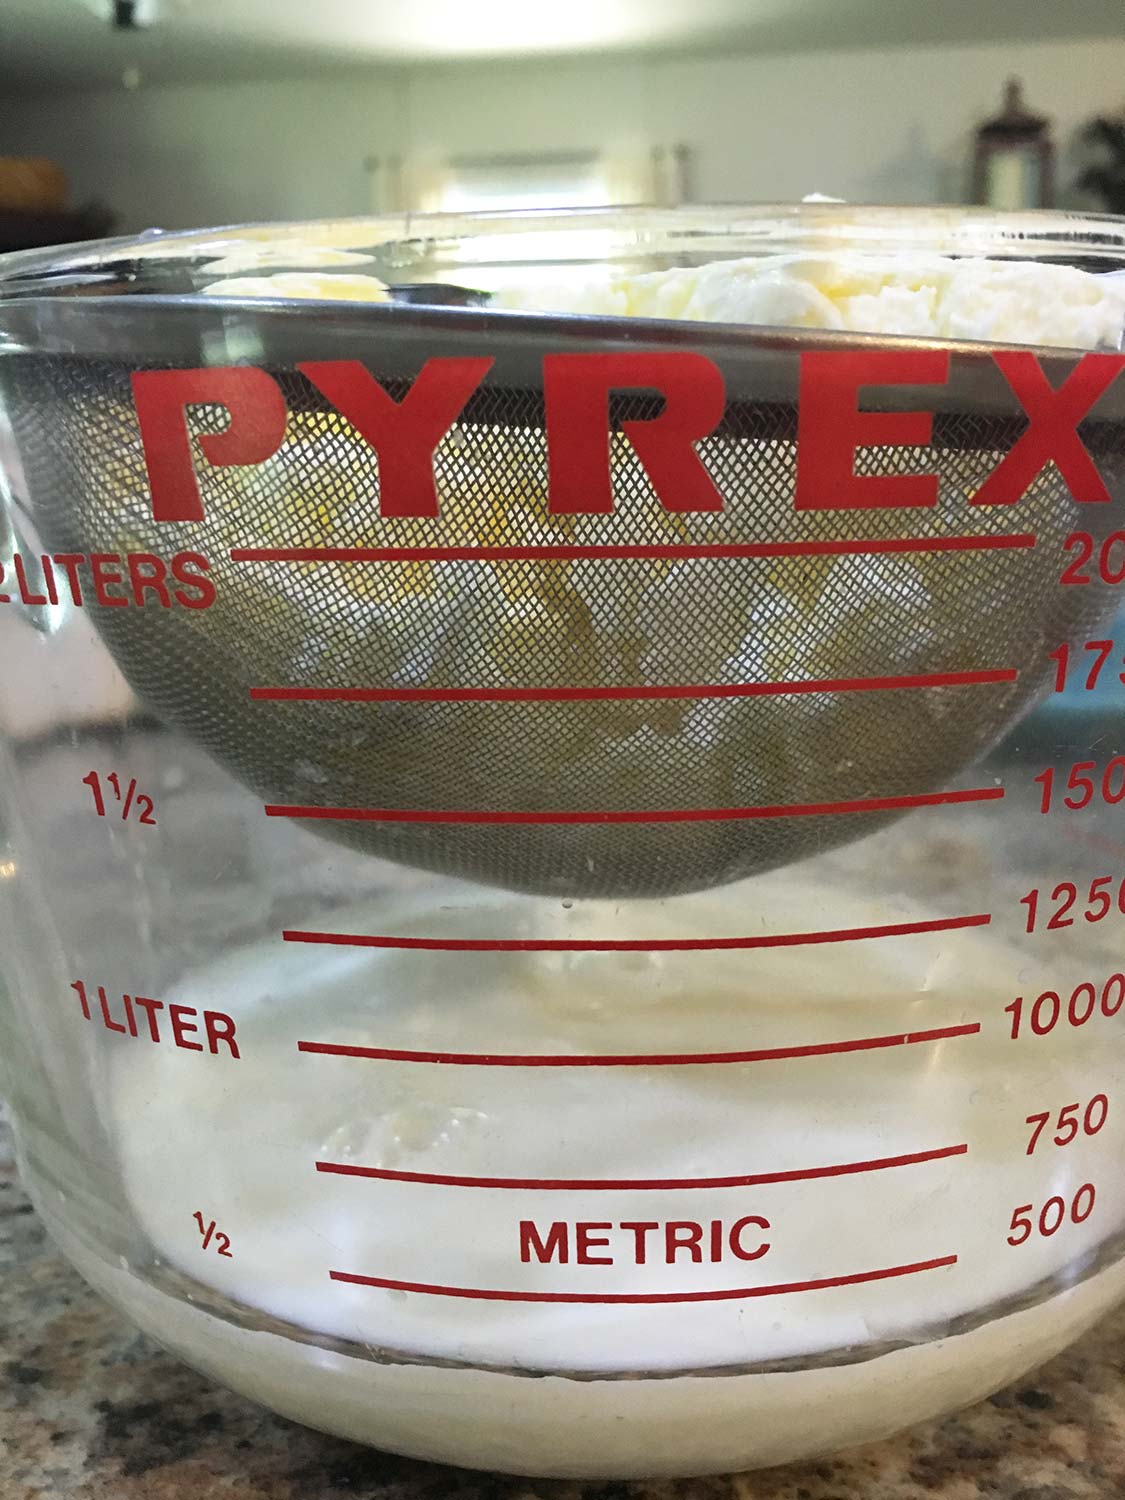
At this point I pour the bulk of the buttermilk out through a sieve. Save it though! It’s good for other recipes (more on saving it later).
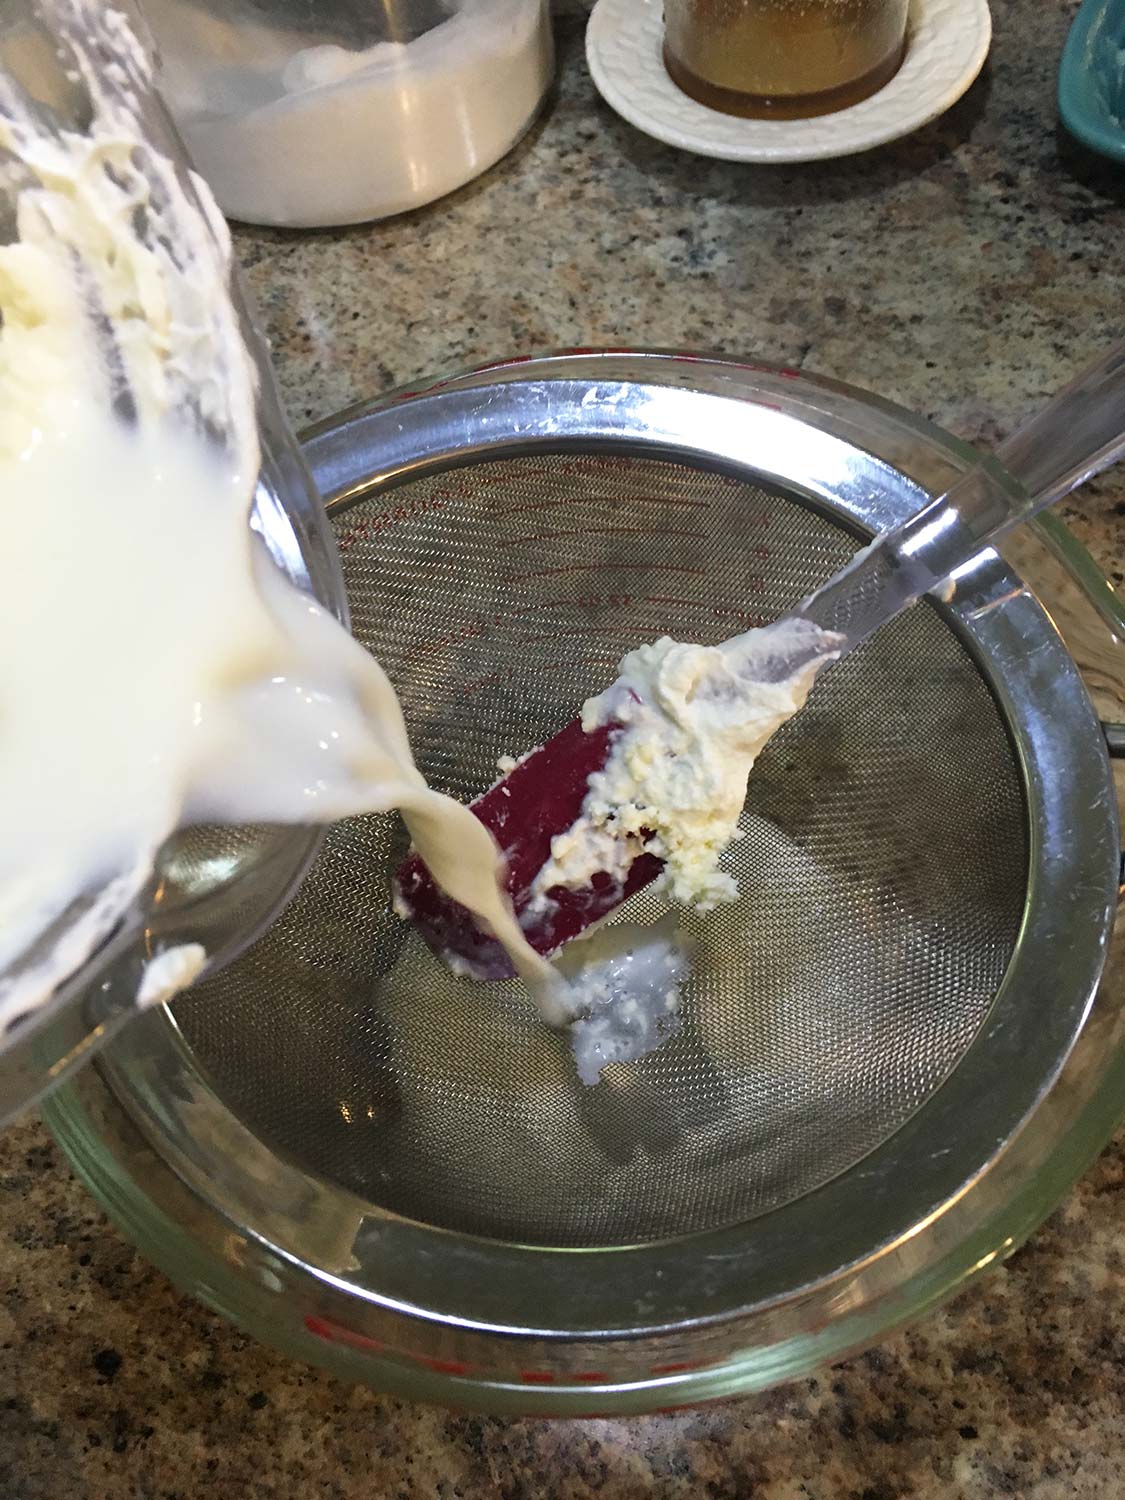
I process it for another minute in the machine just to try and separate out as much buttermilk as I can. Once you have done that, place the butter in the sieve and let it drip for another two minutes.
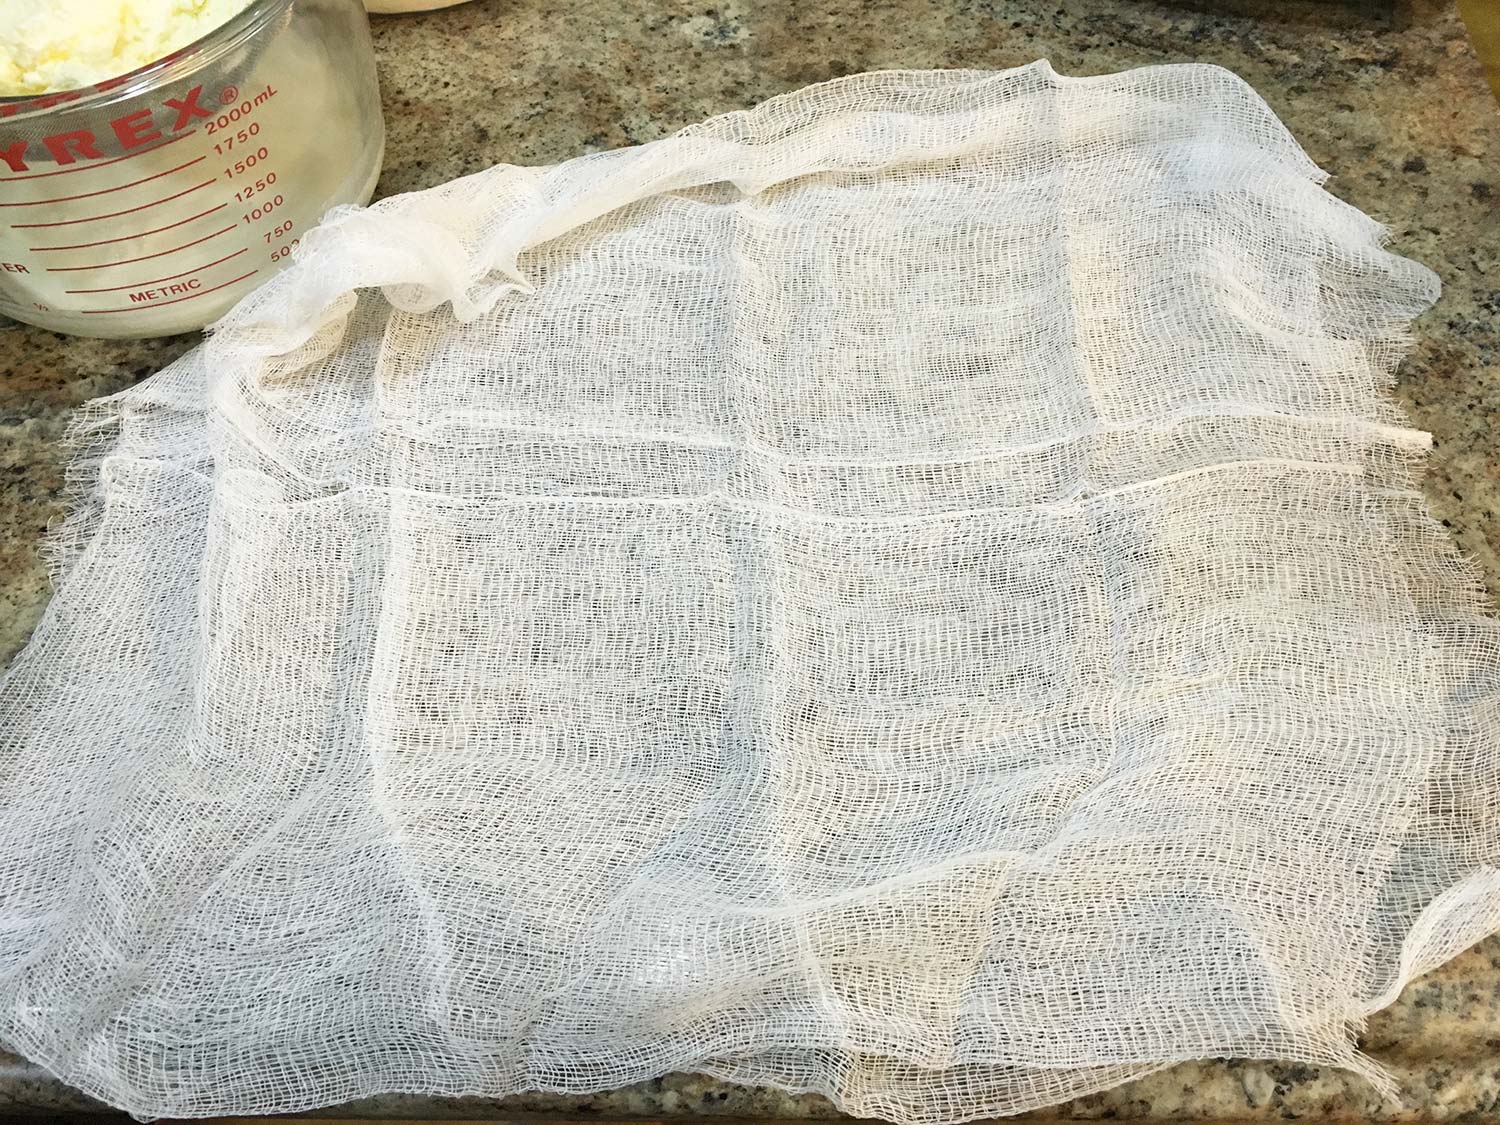
Next cut two square pieces of cheesecloth and lay them out. You can buy cheesecloth by the yard at some fabric stores or you can buy it in the kitchen gadget section of grocery stores in a package.
Drape the cheesecloth over your open palm and place the butter there.
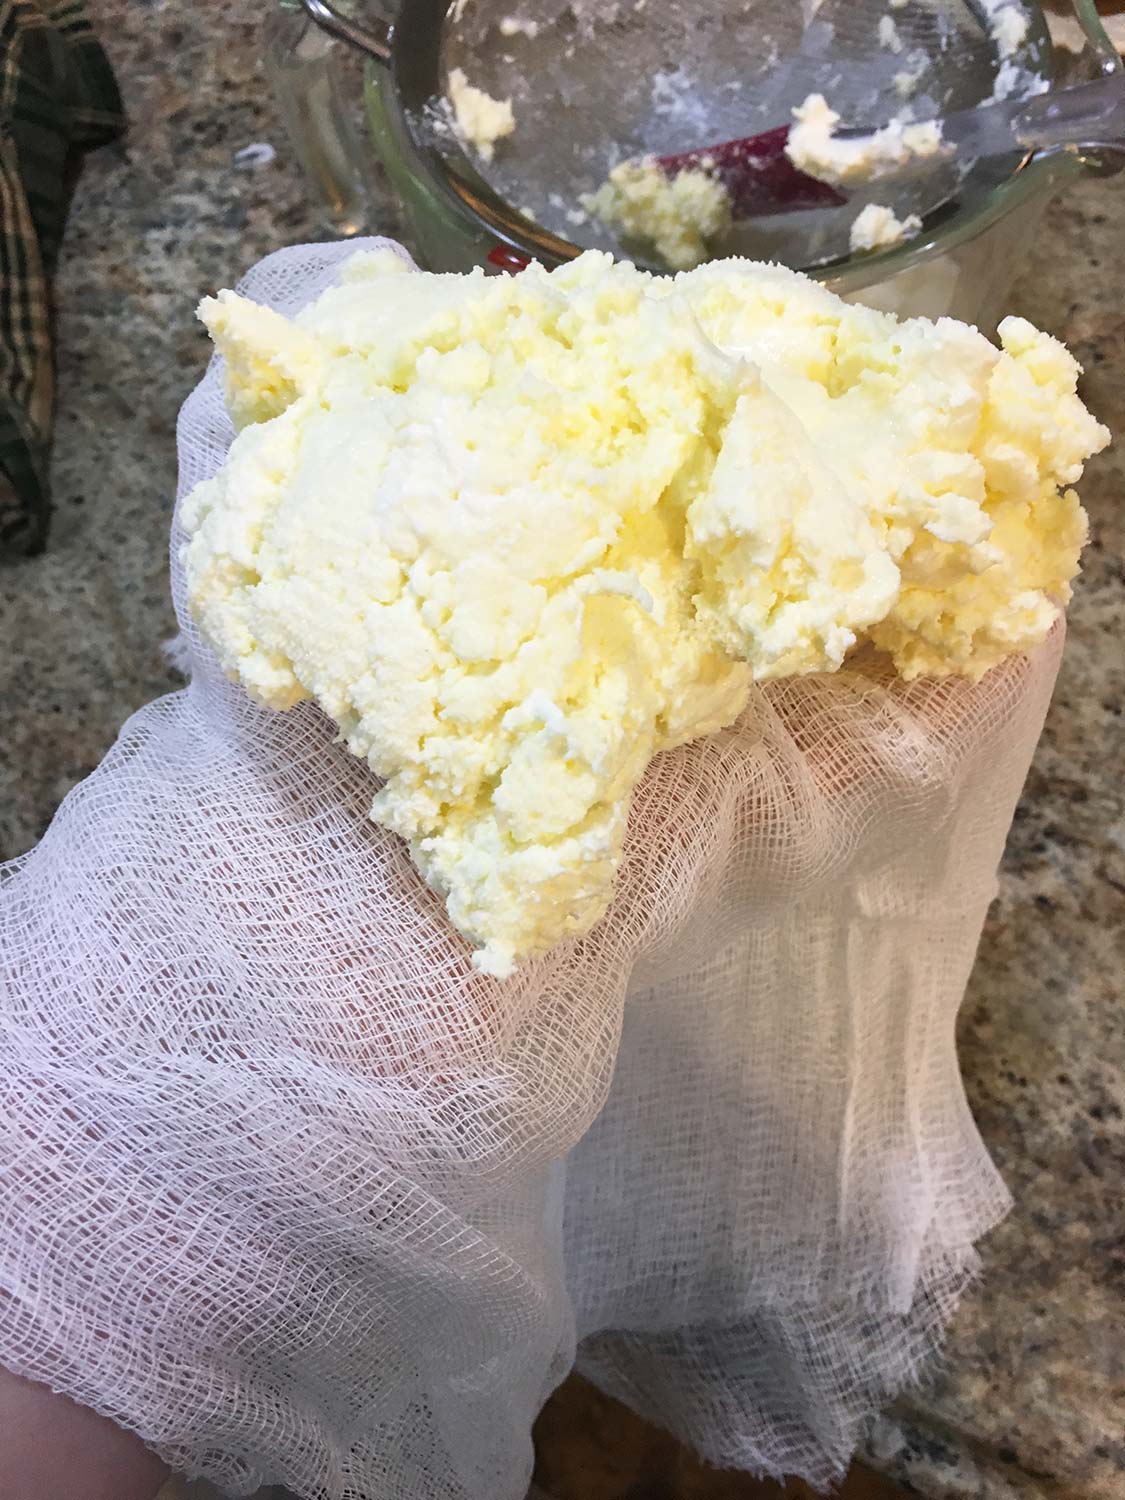
Bring the edges of the cheesecloth up and twist them into a “pouch” to hold the butter.
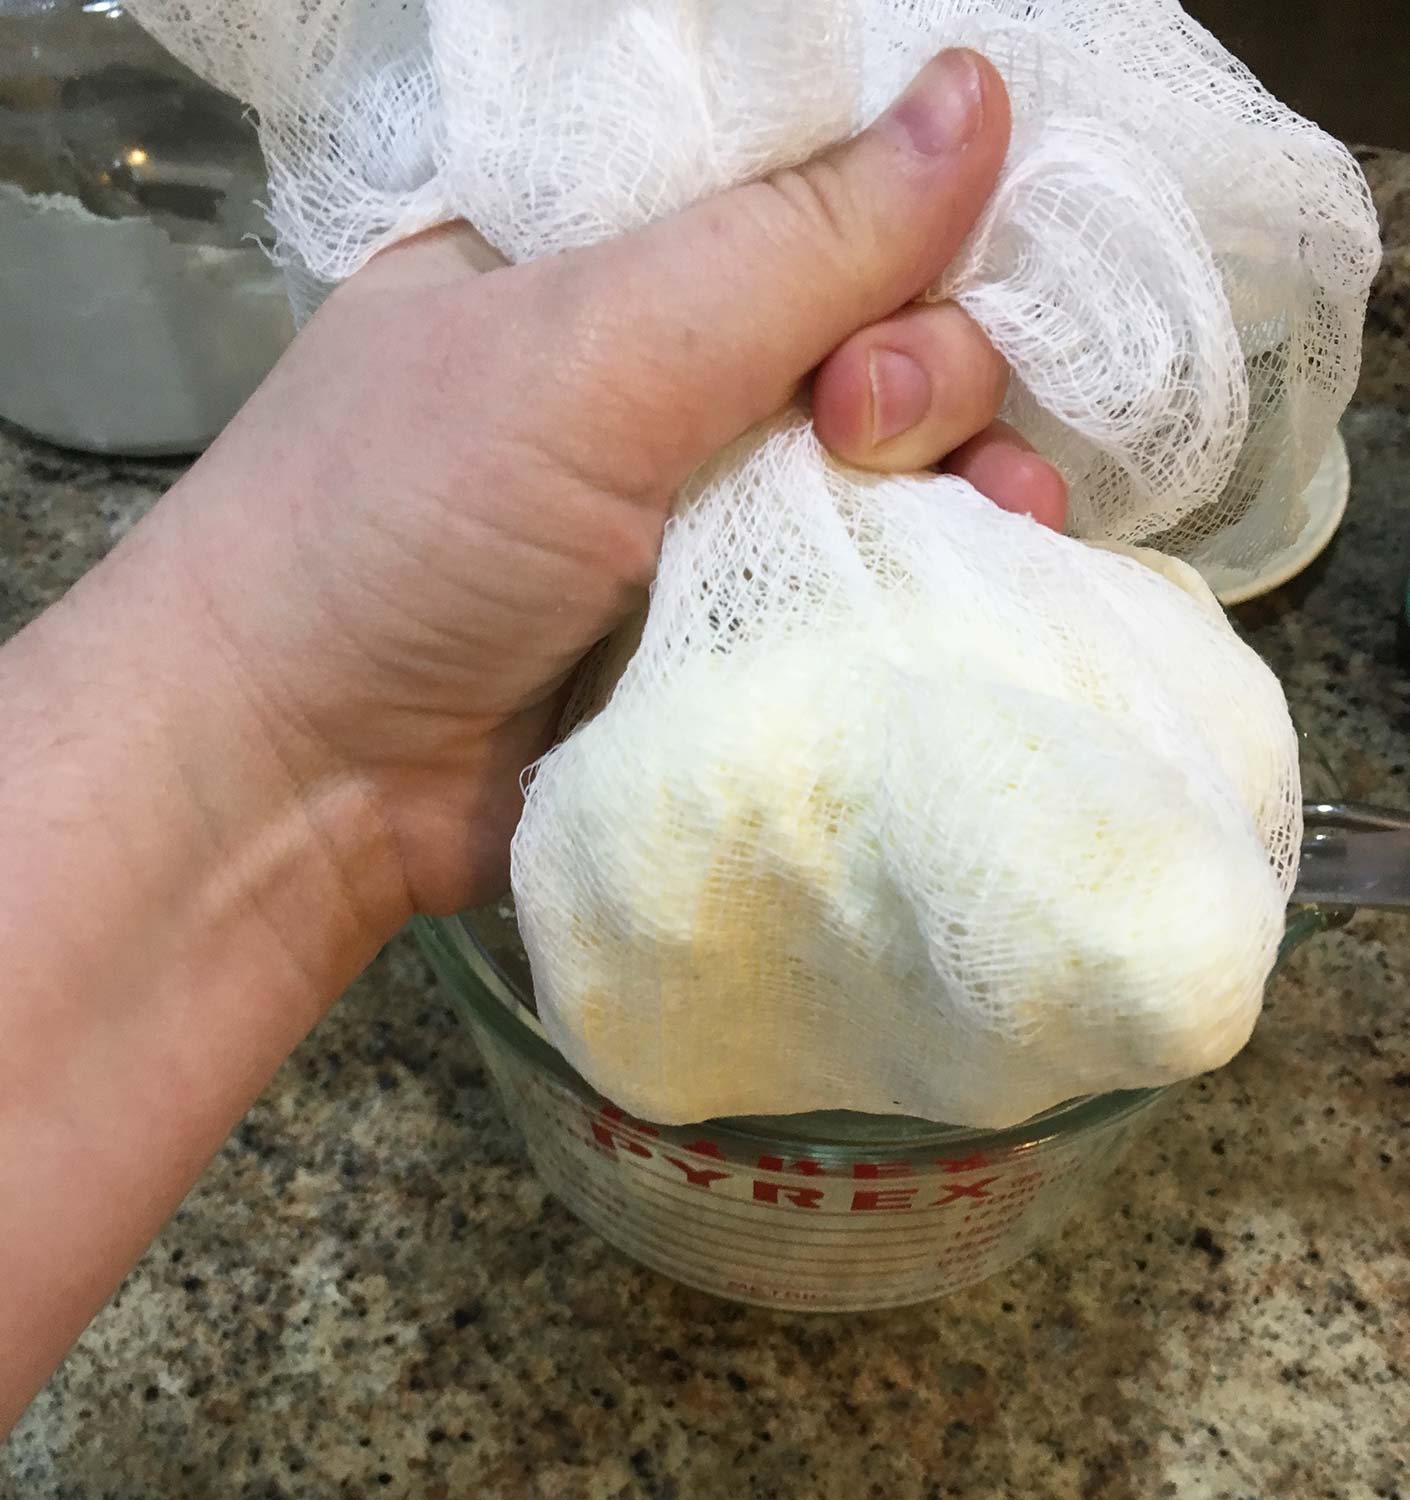
At this point you want to move to the sink with cold running water. Your goal is to squeeze as much of the buttermilk out as you can. The butter as a fat alone would last quite awhile, but the buttermilk will go sour.
I like to squeeze the cheesecloth tight, then flatten the butter and squeeze again. You’ll want to keep running it under the cold water to wash off the buttermilk and cool down the butter from the heat of your hands-you don’t want the butter to melt away down the drain.

Because this is not a mechanized process there will always be some amount of buttermilk left. I remove the butter from the cheesecloth and flatten and squeeze it some more in my hands, but not a lot. Continue to use the cold water at this point!
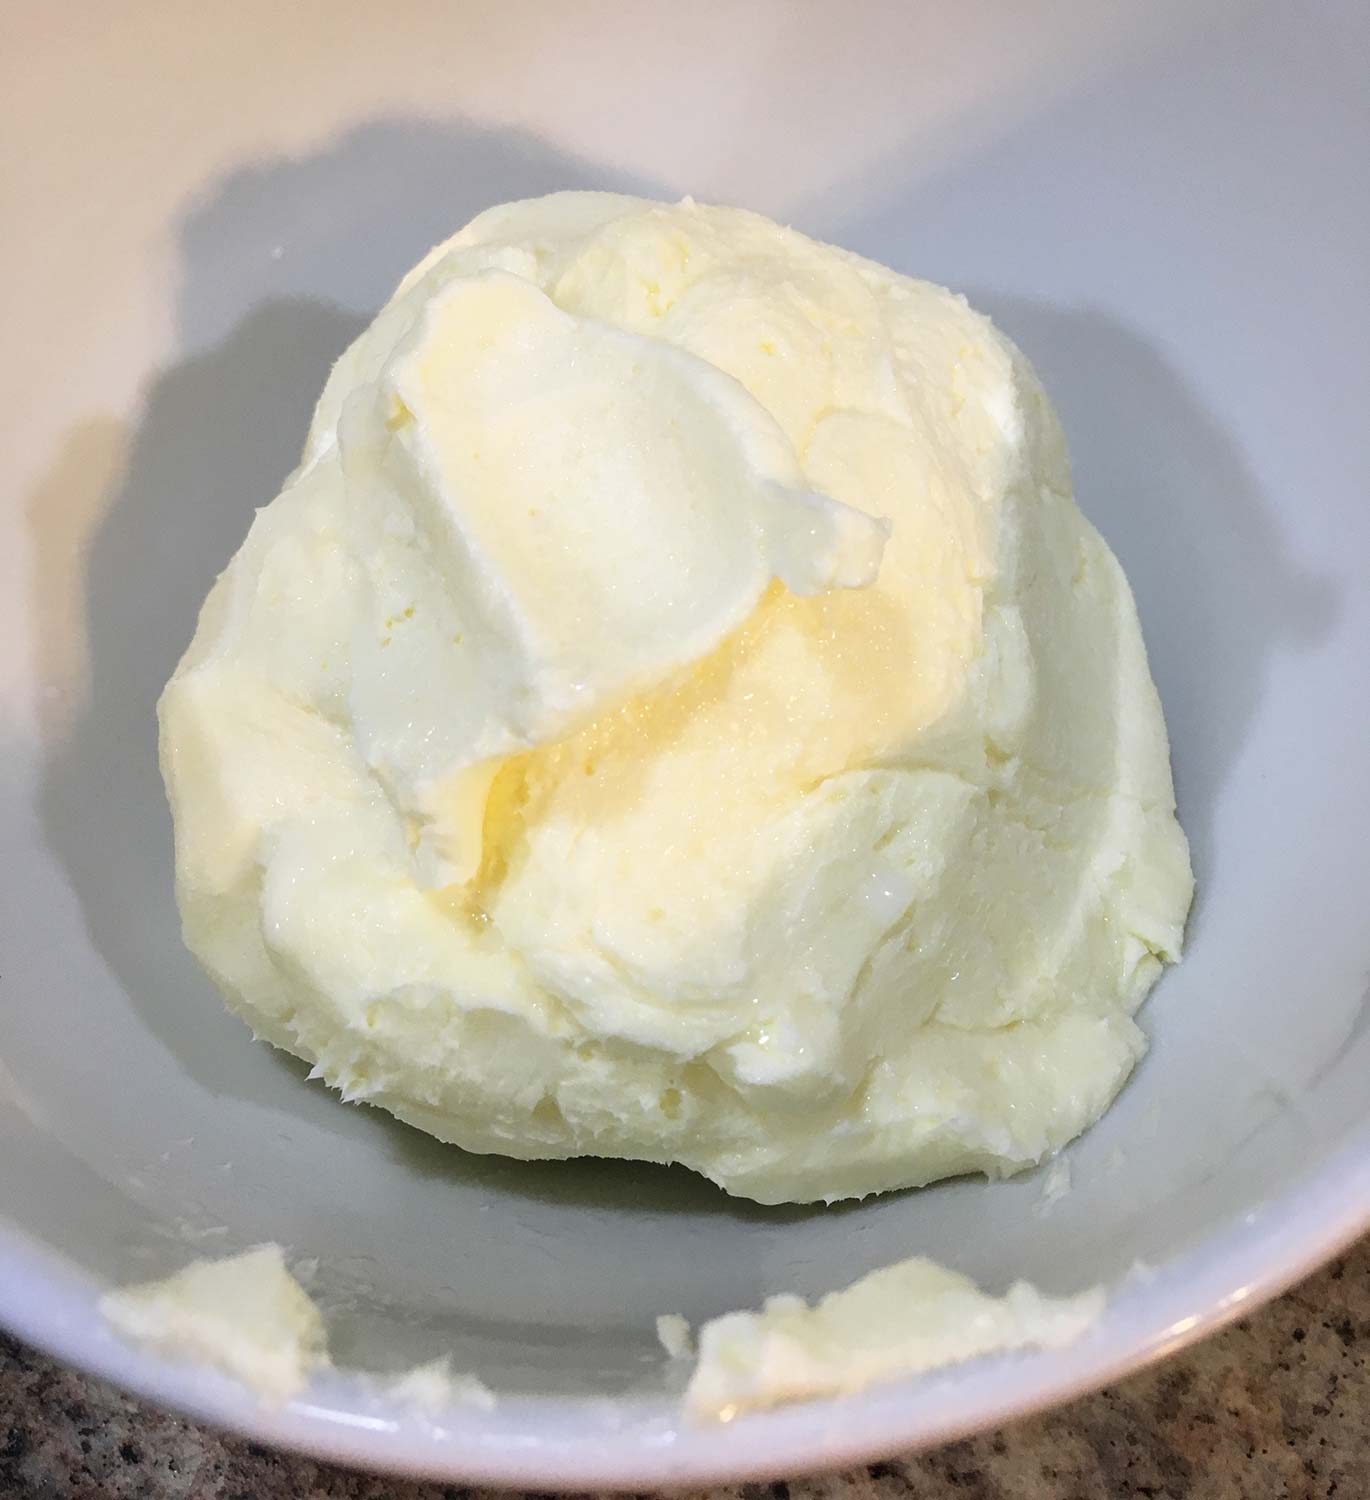
Once I’ve gotten out as much buttermilk as I think I’m going to, I put it into a bowl. You can pick the bits of butter out of the cheesecloth if you want to, but I don’t normally bother. In the picture above you can still see some beads of buttermilk. I’m ok with that, just be sure to use or freeze the butter within five to seven days of making it.
At this point you can be done and have a sweet cream butter, but I normally add salt. For a quart of cream I add half a teaspoon of salt.
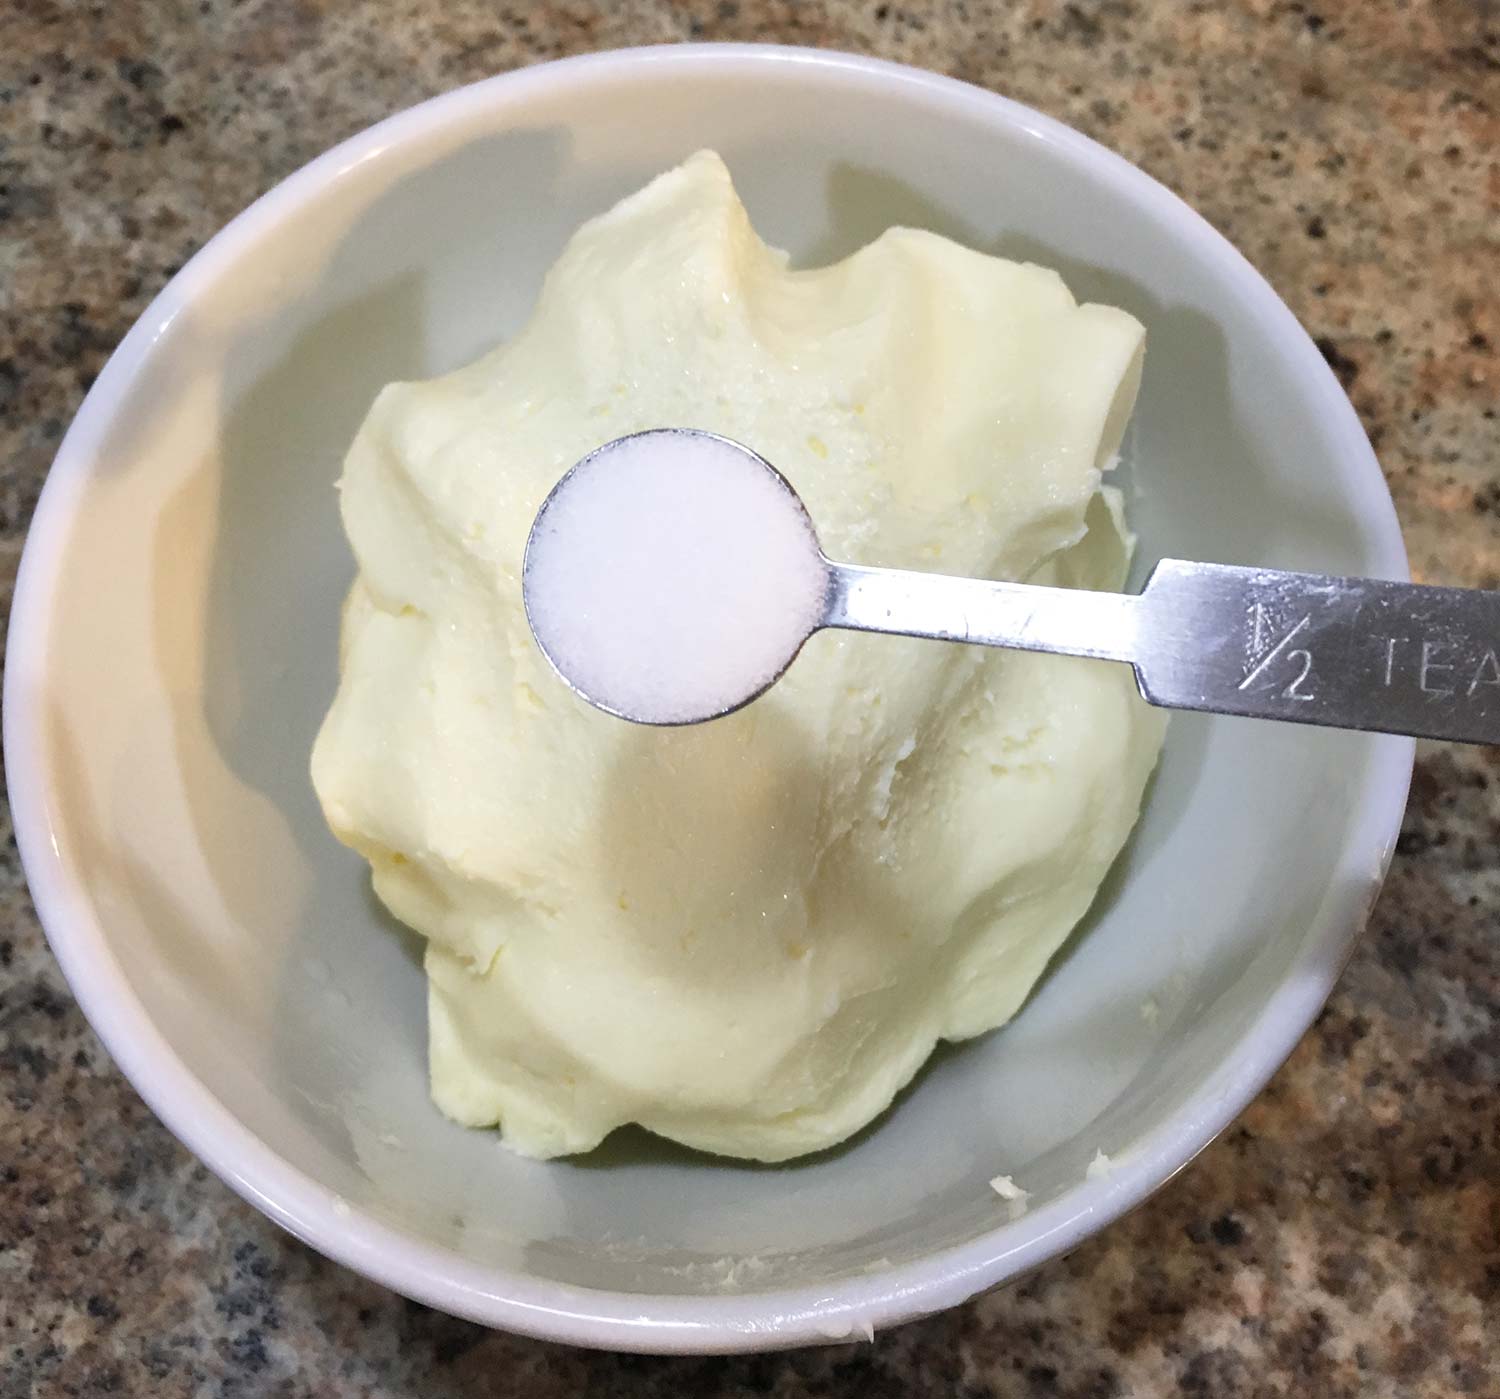
This is where the physical labor of modern butter comes in. You could probably do this step in the processor, but I feel it is hard on the motor, so I normally do it by hand. You’re going to need to fold the salt into the butter to disperse it evenly. Even though the butter was just made and it hasn’t been chilled it is still fairly hard.

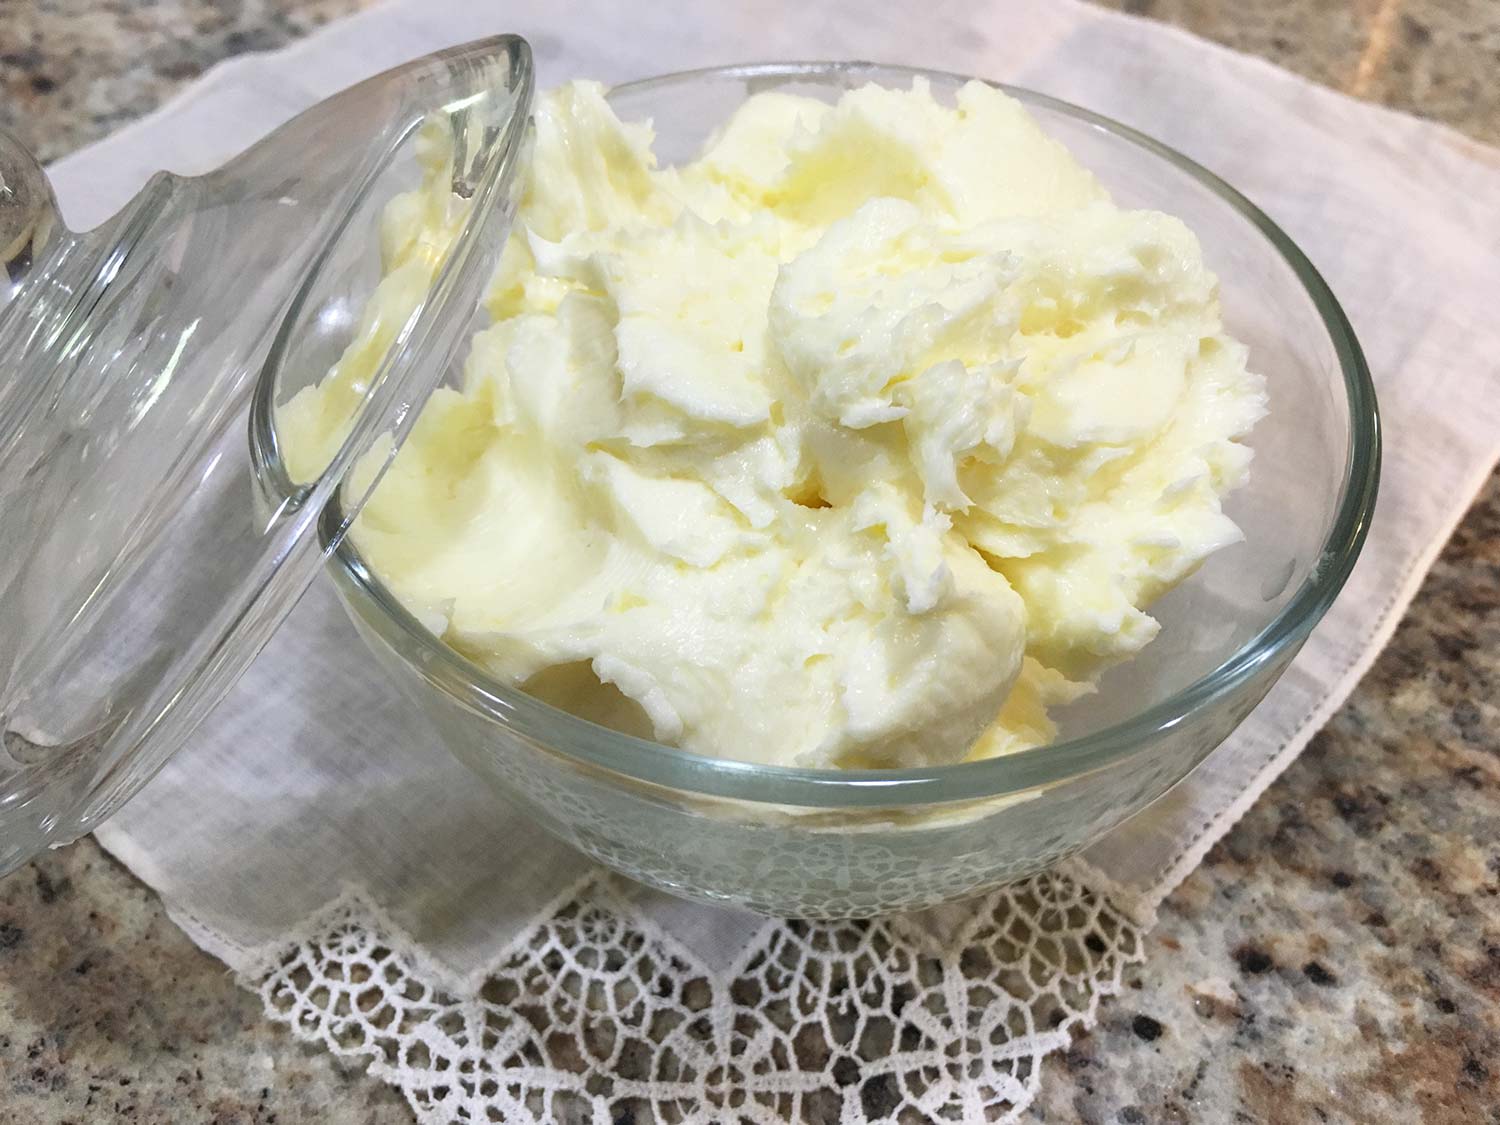
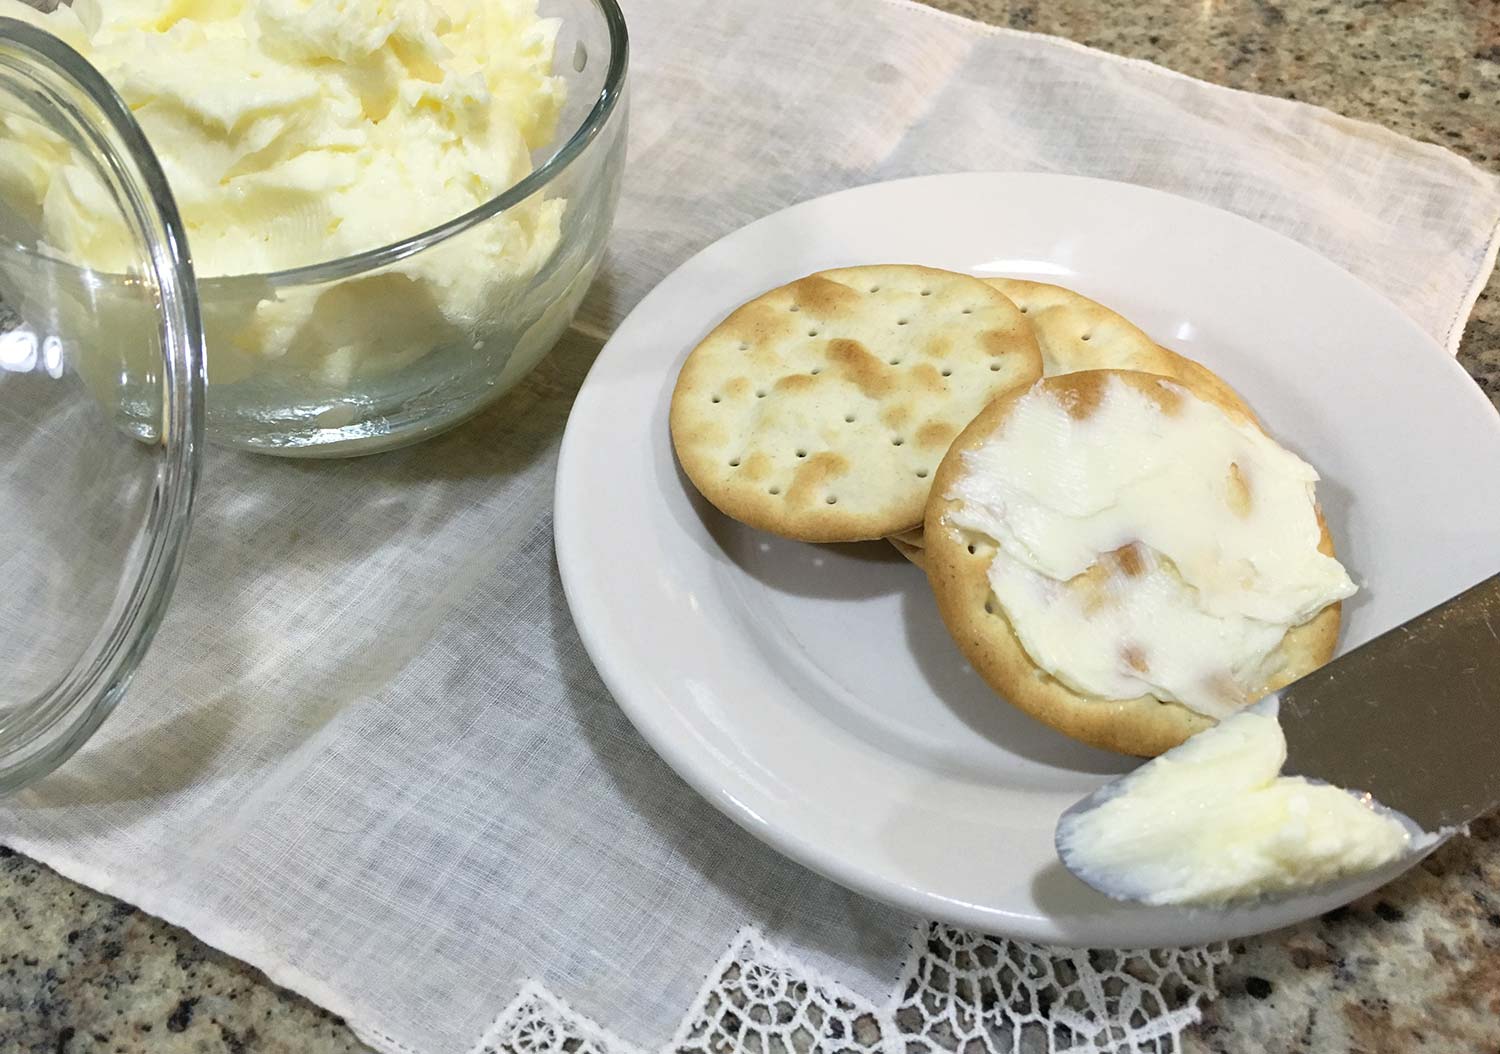
Once the salt is mixed in I take some of the butter and put it in a serving dish and the rest I put in a resealable container for the refrigerator. It is ready to eat right away and there’s normally a small crowd waiting at the counter for a cracker coated in homemade butter.
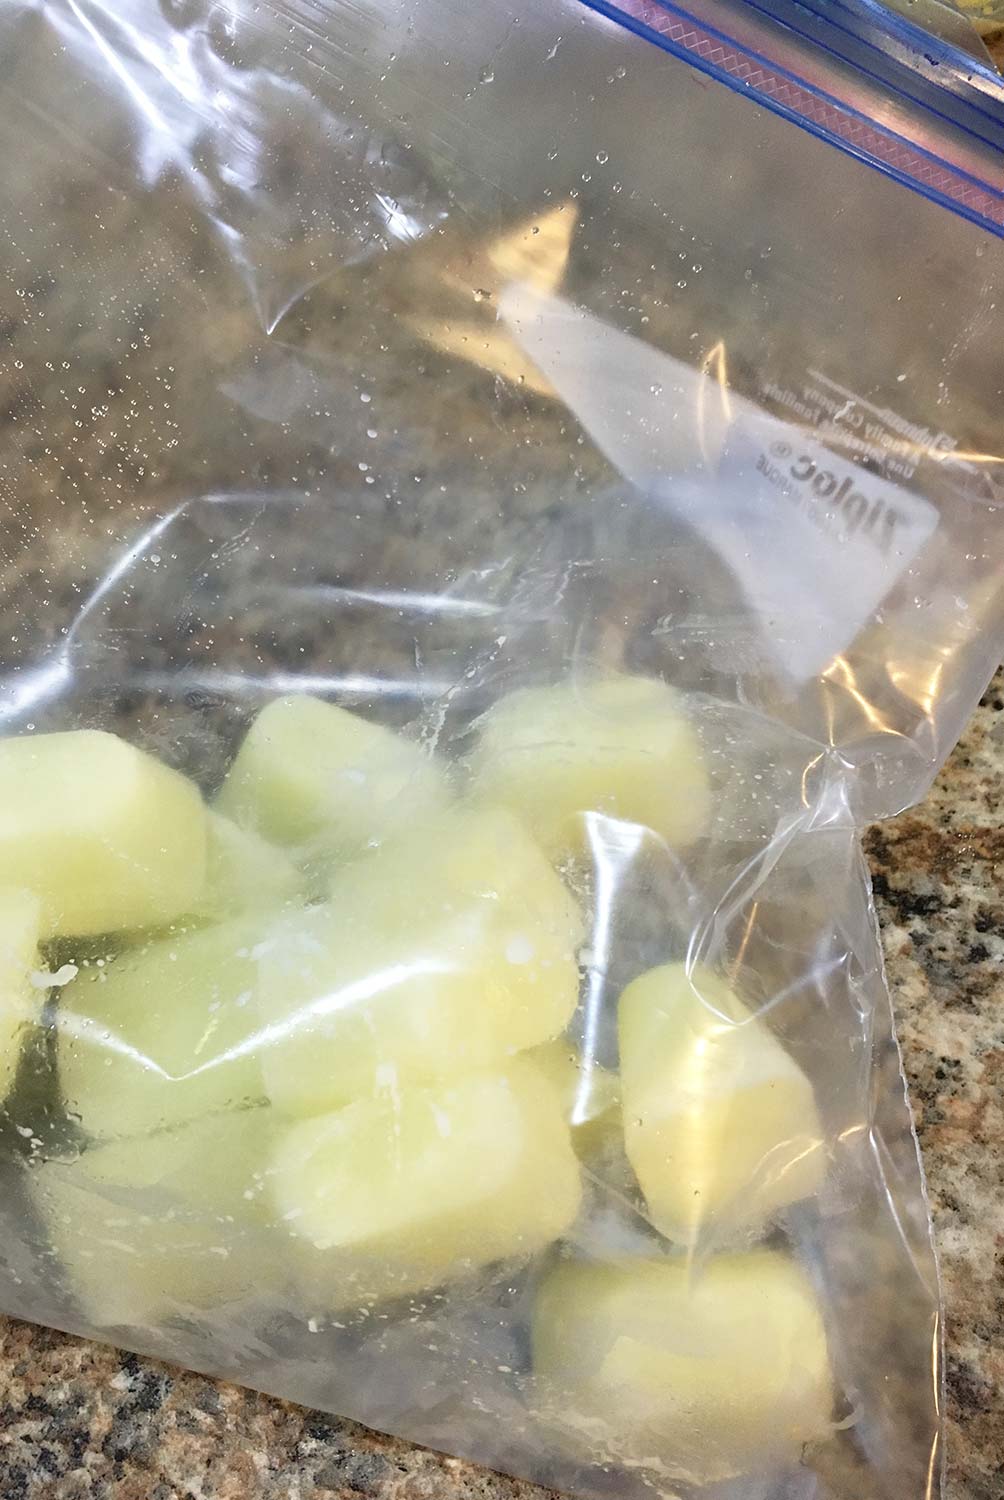
I told you we’d get back to the buttermilk. I use buttermilk in dressings, soups, and pancakes. I don’t like buying the store bought version because it isn’t real buttermilk and I can’t always keep fresh buttermilk around before it spoils. There is a solution though! You can freeze buttermilk in ice cube trays.

Once the cubes have frozen, remove them and store them in a resealable bag. Any time you need buttermilk just take out the amount of frozen cubes you need and let them thaw.
After writing this, it seems like a lengthy process, but start to finish it took me no longer than thirty minutes. It is a little more costly than buying grocery store butter, but I feel the quality and taste make up for it.
Let me know if you try your hand at homemade butter and how it turns out!

Homemade Butter
Ingredients:
- 1 quart Heavy Cream or Whipping Cream (preferably “pasteurized” not “ultra-pasteurized”)
- 1/2 teaspoon salt
Instructions:
- Pour cream into food processor. Process on highest speed through low peak and stiff peak phases. Cream will “fall” and butter will begin to form.
- When it reaches a “crumbly” looking consistency pour off buttermilk through sieve into bowl and process butter an additional minute.
- Put butter in sieve and let drip for two more minutes.
- Layer two square pieces of cheesecloth and place butter in center. Wrap edges up and twist to form “pouch” around butter. Over a sink with cold running water squeeze and rinse the butter to get rid of the buttermilk still inside.
- Remove the butter from the cheesecloth and fold the butter over a few times in your hands, under running water, squeezing as you fold it. Let it drip briefly then place it in a bowl.
- Optional: Add salt and use a rubber spatula to fold the salt into the butter.
- Use butter within 5-7 days or freeze.
Note: The leftover buttermilk is great to use fresh or to freeze in ice cube trays for later!


Leave a Reply
Want to join the discussion?Feel free to contribute!